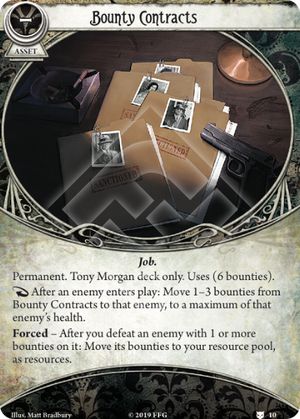
- Q: Can the reactions on cards that start the game in play be triggered during scenario setup? Specifically, during Step 10 of Setting Up The Game, when enemies or treacheries may be put in play? Two example cards: 1) Can Bounty Contracts put bounties on enemies put out as part of scenario setup - are permanents in play at this point? 2) Can Darrell's Kodak be triggered during scenario setup to put evidence on enemies or treacheries - are cards that "begin the game in play" in play at this point? A: No to both; unless explicitly stated, you can’t resolve abilities before the game starts. Neither Bounty Contracts nor Darrell’s Kodak is able to affect the game during Setup. (One card that can, though: Sefina Rousseau with her Forced ability.)
Last updated